The primary bath in our 1977 Colonial was stuck firmly in the 70s — pink tub, dated beige tile, terrible lighting, and a layout that made mornings feel chaotic with two kids. In 2022 we finally tackled it. The final cost came in at $8,200 all-in. Not the cheapest bath reno you’ll ever see, but honest and livable for a busy family on a modest budget. Here’s the full story, every line item, and the lessons that only come from actually using the space.
The Starting Point and Goals
The original bath had a narrow vanity, a tub that was impossible to clean, and zero storage. Our goals were simple: better flow for two adults and two kids, durable materials that could handle splashes and toys, brighter lighting, and a layout that didn’t feel cramped. We wanted it done without blowing our savings or living in chaos for months.
I created a detailed scope document (product manager habits die hard) and got contractor quotes. We landed in the middle bid and supplemented with our own labor on demo and painting.
The Project Timeline and What We Did
Demo took us a long weekend. We removed the old tub, tile, and vanity ourselves to save money. The contractor handled plumbing relocation, new shower install, tile work, and final plumbing/electrical. We painted and did the finishing touches.
The project took about 5 weeks total, with some overlap when the kids got sick and we had to pause.
Not everything needs to cost more. Some things just need to be thought about more — like choosing materials that survive toddler baths and wet towels.
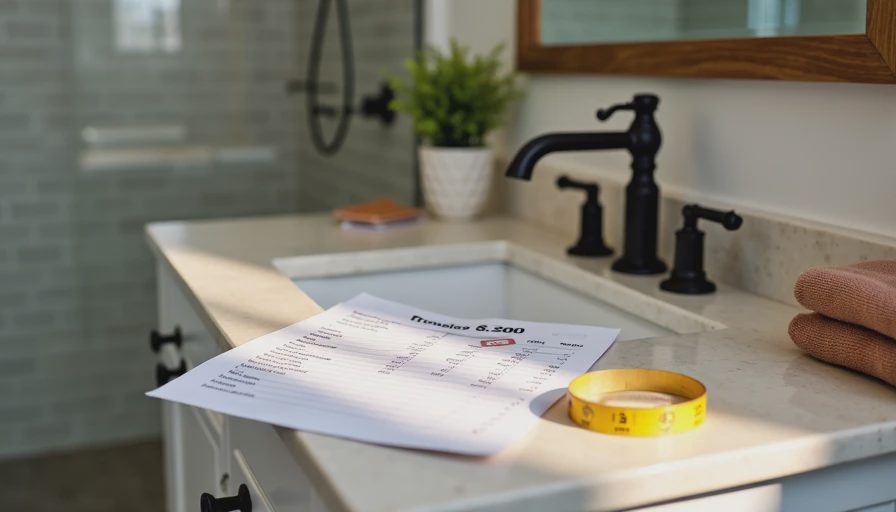
Complete Budget Breakdown: Every Line Item

Demo & Disposal
Our labor + dumpster rental: $320
Plumbing & Electrical
Relocating toilet and shower rough-in (pro): $1,450
New fixtures and valves (pro install): $980
Tile & Shower
Subway tile materials: $680
Porcelain floor tile: $420
Professional tile installation & waterproofing: $1,850
Vanity & Storage
36" vanity with quartz top: $1,240
Mirror and medicine cabinet: $380
Additional shelving: $160
Lighting & Fixtures
Vanity lights + overhead LED: $290
Faucet, showerhead, towel bars: $450
Painting & Finishing
Paint, primer, supplies (we did this): $180
Baseboards & trim: $120
Misc & Contingency
Permits, sealant, caulk, misc hardware: $280
Grand Total: $8,200
We stayed right on budget thanks to shopping sales for fixtures and doing the messy labor ourselves.
What Worked Well After Living With It
Almost four years later, this bath still feels like a win:
The relocated toilet and larger shower make mornings smoother with kids.
The neutral tile and soft beige grout hide everyday wear.
The vanity has held up to water and clutter better than expected.
Good lighting makes the whole space feel bigger and more relaxing.
What Surprised Us (and What We’d Change)
The biggest surprise was how much the grout color and lighting mattered for daily cleaning. We also underestimated how quickly towels pile up — we should have added a few more hooks.
If we did it again:
Spend a bit more on a deeper soaking tub option.
Add under-vanity outlets for convenience.
Choose a slightly more durable quartz pattern for the top.
Build in one more recessed shelf in the shower.
These would have added maybe $600–800 but improved long-term livability.
Lessons for Your Own Bathroom Reno
Get detailed quotes. Line items matter more than the bottom line.
Hybrid DIY is powerful. Demo and painting saved us thousands without huge risk.
Test materials in place. Live with samples for at least a week.
Prioritize flow over features. With kids, easy movement beats fancy extras.
Keep receipts and notes. You’ll thank yourself during future touch-ups.
This bath project reinforced why Room by Room exists — showing the full cycle from dated space to lived-in reality, with real numbers instead of vague “budget reno” claims.
The $8,200 investment dramatically improved our daily life. Mornings are less stressful, baths are more fun for the kids, and the space feels calm even on messy days. That’s the kind of return that matters most.
If you’re planning a primary bath update on a real-family budget, start with honest goals and multiple quotes. Don’t be afraid to do the dirty work yourself. And always test that grout.
Next in Room by Room we’ll talk more about the kitchen we designed twice. Until then, measure your current bath twice and think hard about how your family actually uses it. The details make all the difference.
— Ethan
No letters yet — be the first to write.