When we bought our 1977 Colonial in Smyrna, the kitchen was a time capsule of avocado appliances and zero counter space. It screamed “1970s efficiency” but delivered daily frustration for a family that actually likes to cook together. So we decided to redesign it. On paper it looked flawless. In reality? We built it twice. Here’s the honest story of how a product manager’s plan met real life with toddlers — and how the second version finally feels like home.
The Original Plan: Graph Paper Dreams
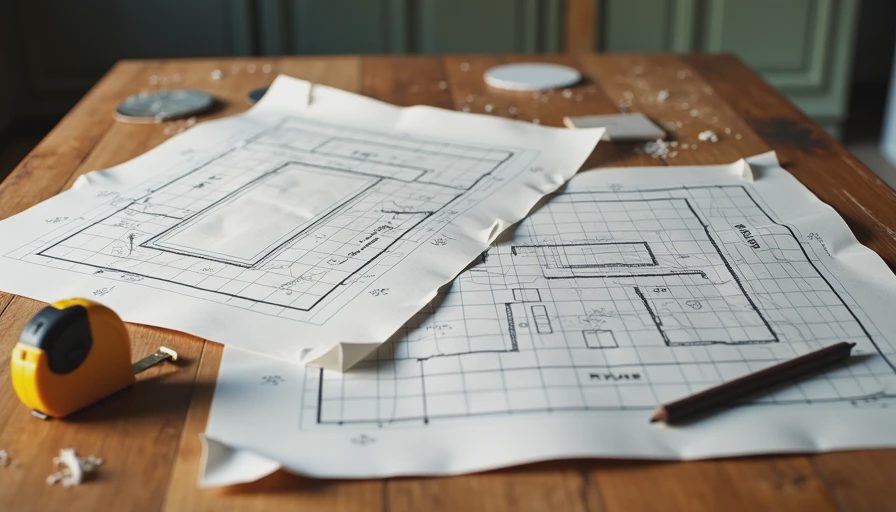
In early 2021 I sat at our dining table with a giant pad of graph paper, a ruler, and way too much confidence. Megan and I measured every inch of the existing kitchen. We sketched an L-shaped layout with a big island, white Shaker cabinets, and quartz counters that looked budget-friendly online.
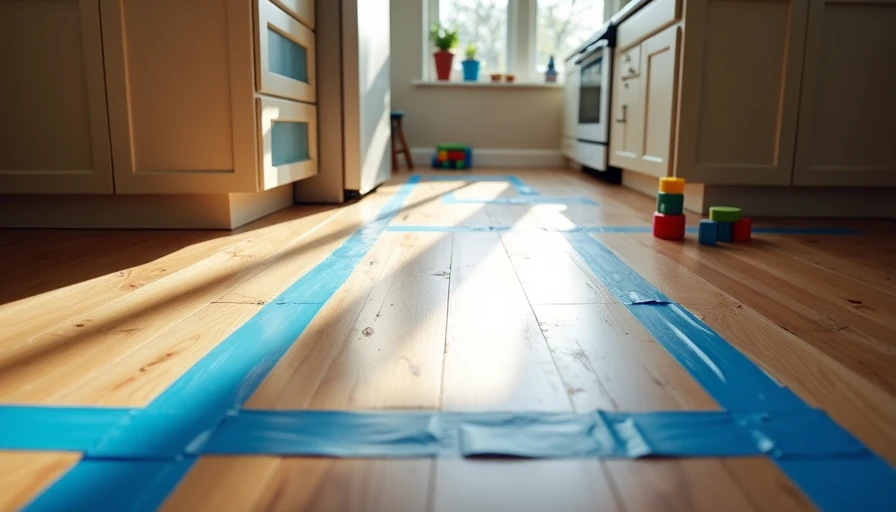
We thought about traffic flow. We even taped the island outline on the floor and walked around it with coffee mugs in hand. “This feels great,” I remember saying. Leo (then 3) ran through the taped lines like it was a racetrack. Cute at the time. Warning sign in hindsight.
We ordered cabinets, picked hardware, selected a warm white paint (#F5F1E9 with a hint of cream), and budgeted $14,500 all-in — ambitious but doable on our salaries. I felt like a pro. Product manager mode: requirements gathered, specs approved, ready for launch.
Reality Hits: The First Build Falls Apart
Demolition day was exciting. We knocked out the old wall cabinets ourselves and hauled everything to the curb. The contractor showed up, took one look at our plans, and said, “This island is going to block the fridge door when the kids are running around.”
He was right. Within two weeks of partial install we saw the problems:
The island created a choke point exactly where Leo wanted to “help” stir pasta.
Open shelving on one wall looked beautiful in photos but became June’s personal climbing gym once she started walking.
The sink placement under the window was perfect on paper but meant we couldn’t see the backyard when the kids were playing outside.
We lived with the half-finished version for three months while I stared at it every morning, slowly realizing we’d designed for magazine aesthetics instead of actual family chaos. One particularly bad evening, after cleaning spilled milk from under the half-installed island for the third time, I told Megan, “We need to redo this.”
The Redesign: Learning from Real Use
This time we didn’t sketch on paper first. We lived in the half-done space and took notes like actual users:
We needed better sight lines to the backyard.
The island had to have overhang space for stools but still allow two adults to pass comfortably.
Storage had to be toddler-proof — lower cabinets with real locks, upper ones for things we didn’t want climbed.
We switched to a smaller peninsula instead of a full island. Moved the sink to the opposite wall. Added a narrow pull-out pantry that actually fits cereal boxes and snacks within easy reach. Changed the cabinet style mid-order from Shaker to a simpler flat panel because the Shakers showed every tiny fingerprint.
The second build cost us another $3,200 in change orders and delays. Expensive lesson, but worth every penny.
Budget Breakdown: The Real Numbers
First attempt:
Cabinets & hardware: $6,800
Counters & backsplash: $3,200
Labor & demo: $3,100
Appliances (kept existing for now): $0
Paint & misc: $1,400 Total round 1: ~$14,500
Redesign additions/changes:
New peninsula base & quartz top: $1,850
Cabinet reorder fee & new doors: $980
Extra plumbing & electrical tweaks: $370 Grand total: $17,700
Not cheap, but still way under what a full designer-led reno would have run in Atlanta. We saved by doing demo and painting ourselves and by shopping around for fixtures.
What We’d Do Differently Next Time
If I could go back:
Prototype with real furniture for at least two weeks, not just tape.
Factor in “kid speed” — how fast and messy actual humans move in the space.
Order samples of everything and live with them on the walls before committing.
Build in more flexible storage. We now love having a mix of closed cabinets and a few well-placed open shelves high enough that June can’t reach.
The $89 Amazon light fixture over the sink? Still going strong after three years. The $650 showroom version we almost bought? Glad we didn’t.
How It Feels Now — Nine Months Later
We finished the second version in late 2021. Almost five years on, it still works. The peninsula lets me chop vegetables while watching the kids in the backyard. The warm white paint hides scuffs better than I expected. The hardware (simple matte black pulls) has survived countless sticky hands and still looks sharp.
Mornings feel calmer. Evenings cooking together actually happen without someone tripping over the layout. And when friends come over, nobody notices it was redesigned mid-project — they just say the kitchen feels good.
Not everything needs to cost more. Some things just need to be thought about more — preferably after you’ve lived with the first attempt for a bit.
Lessons for Your Own Kitchen Reno
If you’re staring at your own dated kitchen wondering where to start:
Measure for real life, not ideal life. Include the high chair, the toy basket, the inevitable spills.
Test layouts physically. Tape, cardboard boxes, whatever it takes.
Prioritize flow over wow-factor. A beautiful kitchen you hate using is worse than a decent one that works.
Build in forgiveness. Kids will destroy things. Choose materials that age gracefully.
This kitchen taught me that renovation isn’t a one-shot design project. It’s an iterative process — exactly like building software. Launch, learn, improve.
We still have a few small tweaks on the wishlist (better under-cabinet lighting, maybe a pot filler someday), but for now it’s a space we genuinely enjoy. That’s the win.
If you’re in the middle of your own kitchen project and feeling overwhelmed, you’re not alone. Drop your biggest pain point in the comments or just keep reading — next Room by Room post will cover the primary bath that cost us $8,200 and taught me everything about grout.
For now, go tape out your own kitchen. You might save yourself a full redesign.
— Ethan
No letters yet — be the first to write.